


1. Khai báo biến + nút điều khiển
<krpano version="1.22.4" title="Auto Tour with Pause Button" onstart="startup();"><!– Biến điều khiển autoplay –>
<var name=“autotour_enabled” value=“true” /><!– Hành động khởi động –>
<action name=“startup”>
loadscene(scene1);
</action><!– Nút Tạm dừng / Tiếp tục –>
<layer name=“autotour_btn” url=“pause.png” keep=“true”
align=“righttop” x=“20” y=“20” scale=“0.5”
onclick=“toggle_autotour();” /><!– Hành động chuyển trạng thái –>
<action name=“toggle_autotour”>
if(autotour_enabled,
set(autotour_enabled, false);
set(layer[autotour_btn].url, ‘play.png’);
,
set(autotour_enabled, true);
set(layer[autotour_btn].url, ‘pause.png’);
call(continue_autotour);
);
</action><!– Gọi lại autotour nếu được bật lại –>
<action name=“continue_autotour”>
if(autotour_enabled,
delayedcall(5, loadscene(scene2, null, MERGE, BLEND(1)); );
);
</action>
2. Cấu hình scene có autotour kiểm tra biến autotour_enabled
<!– Scene 1 –>
<scene name=”scene1″ title=”Cảnh 1″ onstart=”if(autotour_enabled, delayedcall(5, loadscene(scene2)); );”>
<view hlookat=”0″ vlookat=”0″ fov=”90″ />
<image>
<cube url=”panos/scene1_%s.jpg” />
</image>
</scene><!– Scene 2 –>
<scene name=”scene2″ title=”Cảnh 2″ onstart=”if(autotour_enabled, delayedcall(7, loadscene(scene3)); );”>
<view hlookat=”0″ vlookat=”0″ fov=”90″ />
<image>
<cube url=”panos/scene2_%s.jpg” />
</image>
</scene><!– Scene 3 – dừng ở đây –>
<scene name=”scene3″ title=”Cảnh 3″>
<view hlookat=”0″ vlookat=”0″ fov=”90″ />
<image>
<cube url=”panos/scene3_%s.jpg” />
</image>
</scene></krpano>
📝 Ghi chú:
-
pause.pngvàplay.pnglà icon bạn cần thêm vào thư mục chứa tour. -
Tên file ảnh có thể thay đổi tùy thiết kế (ví dụ:
autotour_pause.svg,autotour_play.png…). -
Có thể thêm hiệu ứng hover, scale, tooltip nếu cần.
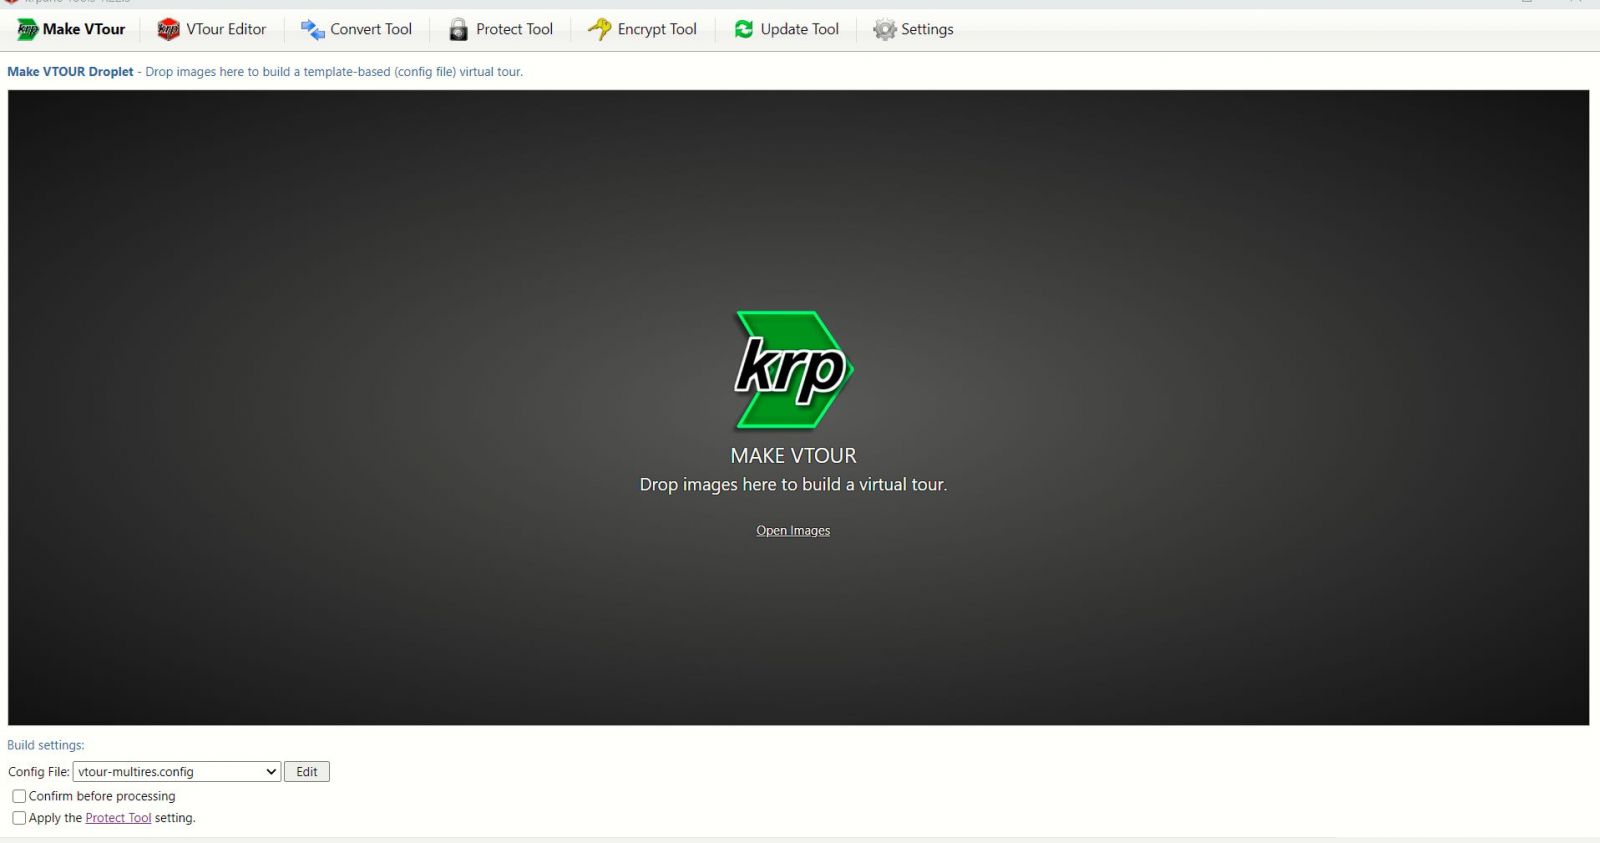
Nút điều khiển Autotour trong Krpano
Xem thêm: